
Installation
Here you can check step by step instructions to install your device. It’s fast and easy, check it out!
First of all, ensure that the work site is de-energized.
Open the device case and fasten the device to the installation location with screws.
Remove the contact protection puller and peel off the outer protective jacket of the cable to be installed so that the entire protective jacket remains between the strain relief and the lower part of the housing.
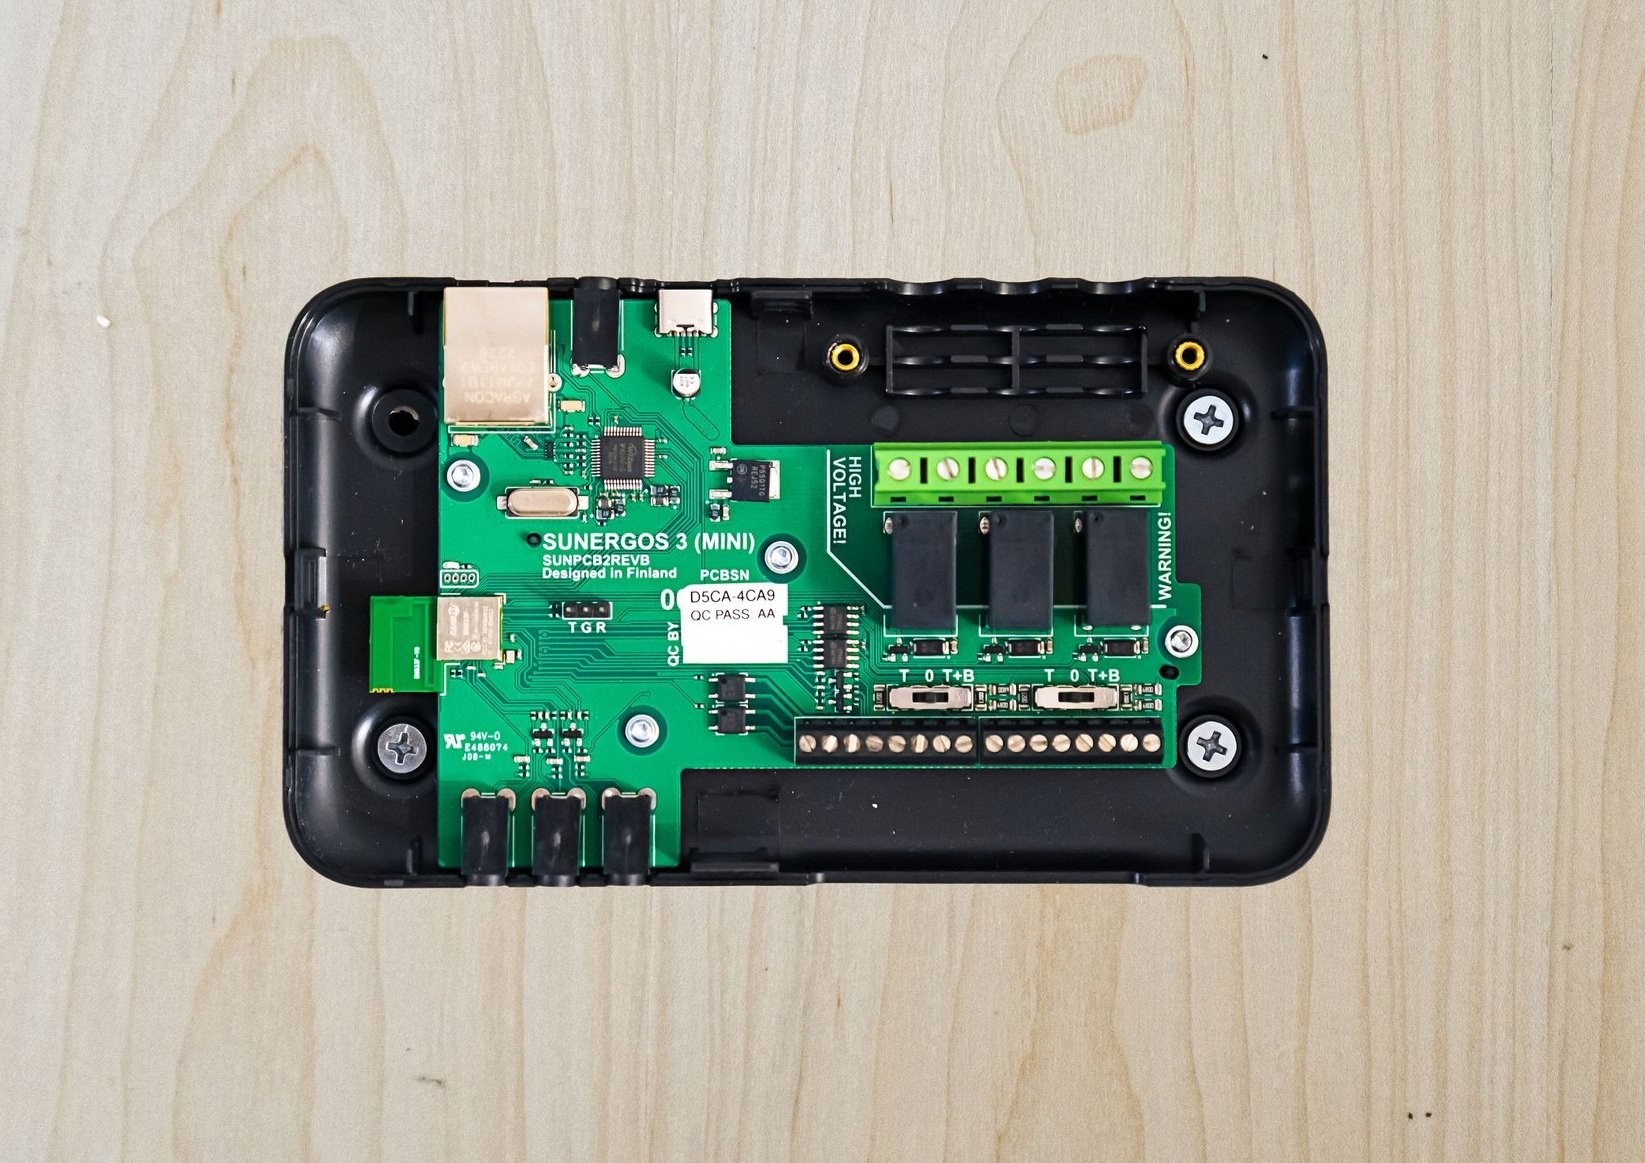
Connect the controlled loads of the device (you can also control contactor, in which case the load controlled by the contactor can be greater than 10A)
Tighten the screw connections of the wires to a torque of 0.5 Nm.

Screw the contact protection strain relief in place and tighten so that the wires don’t get moving.
Obs. When using thick cables, use pliers to remove the protrusions from the strain relief.

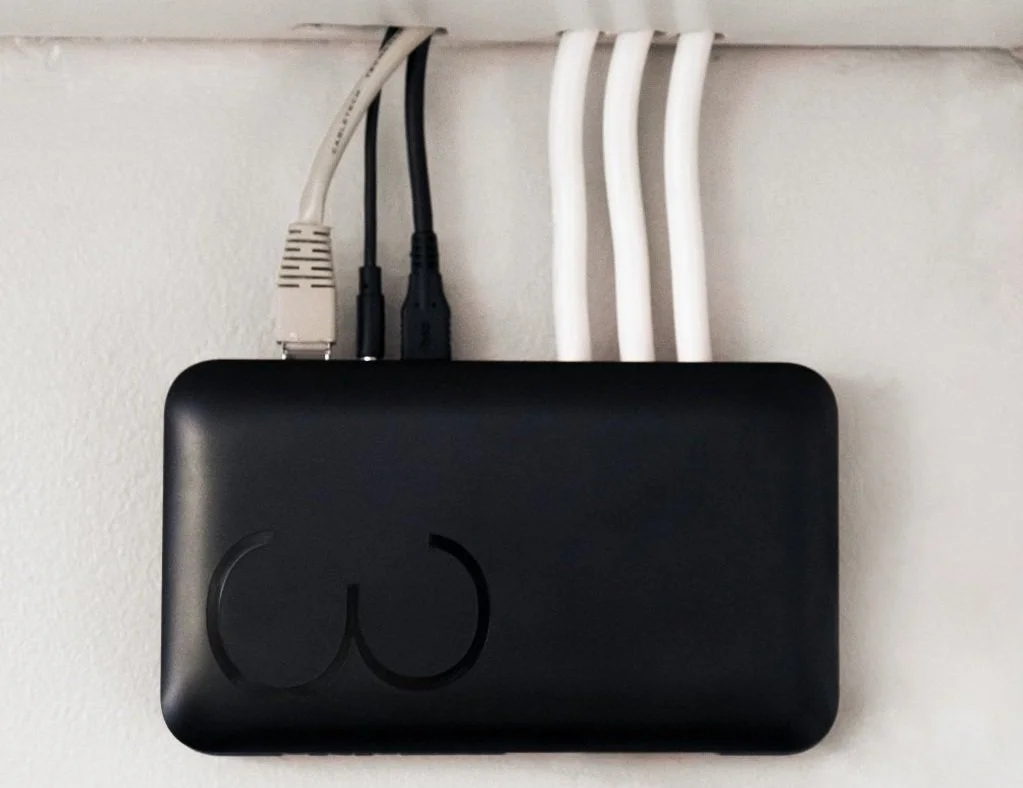
Make sure that, for example, there are no visible loose, live wire strands (when installed correctly, the contact protection strain relief implements an IP20 rating).
Perform commissioning check and close the device case.
Ready!
With only 5 steps you completed the installation of Enion 3!
The installation can be done by yourself or by an electrician. If you need support or want to get our installation service, please contact us!